Using Resolve Media Management
If you shot RAW, Resolve’s Media Management can be used to trim footage.
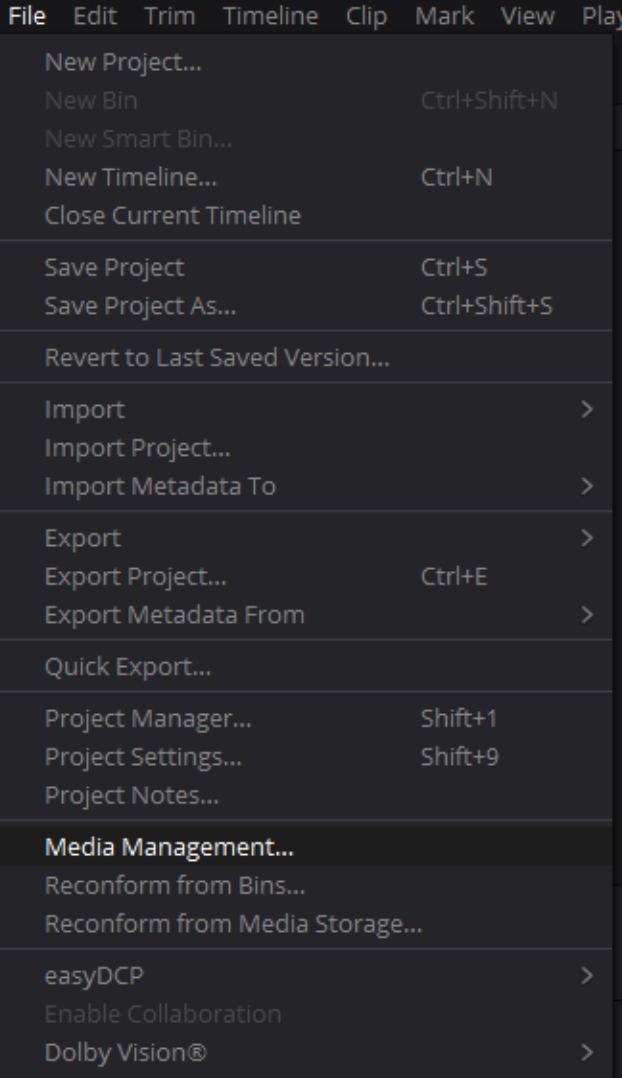
Go to File > Media Management
- At the top select Timelines, then Copy.
- Select the relevant timeline.
- Select Copy > used media and Trim keeping 0 frame handles.

-
You can verify the copy by noting that the “New Size” is smaller than the “Current Size”.
-
Click Start to start copy.
Using RED-Cine
If you prefer, you can use RED-Cine to trim the files instead of Resolve.
- Export your timeline as a Final Cut Pro 7 XML file.
- Open the XML file in the REDCINE-X PRO program.
- Send your timeline to render in R3D format to a RAW folder destination.
- Then each clip will be created as a folder. To upload the story, you must zip each folder so it will be uploaded as a file. (More details about zipping below)
You can download REDCINE-X Pro here: https://www.red.com/downloads
End Result
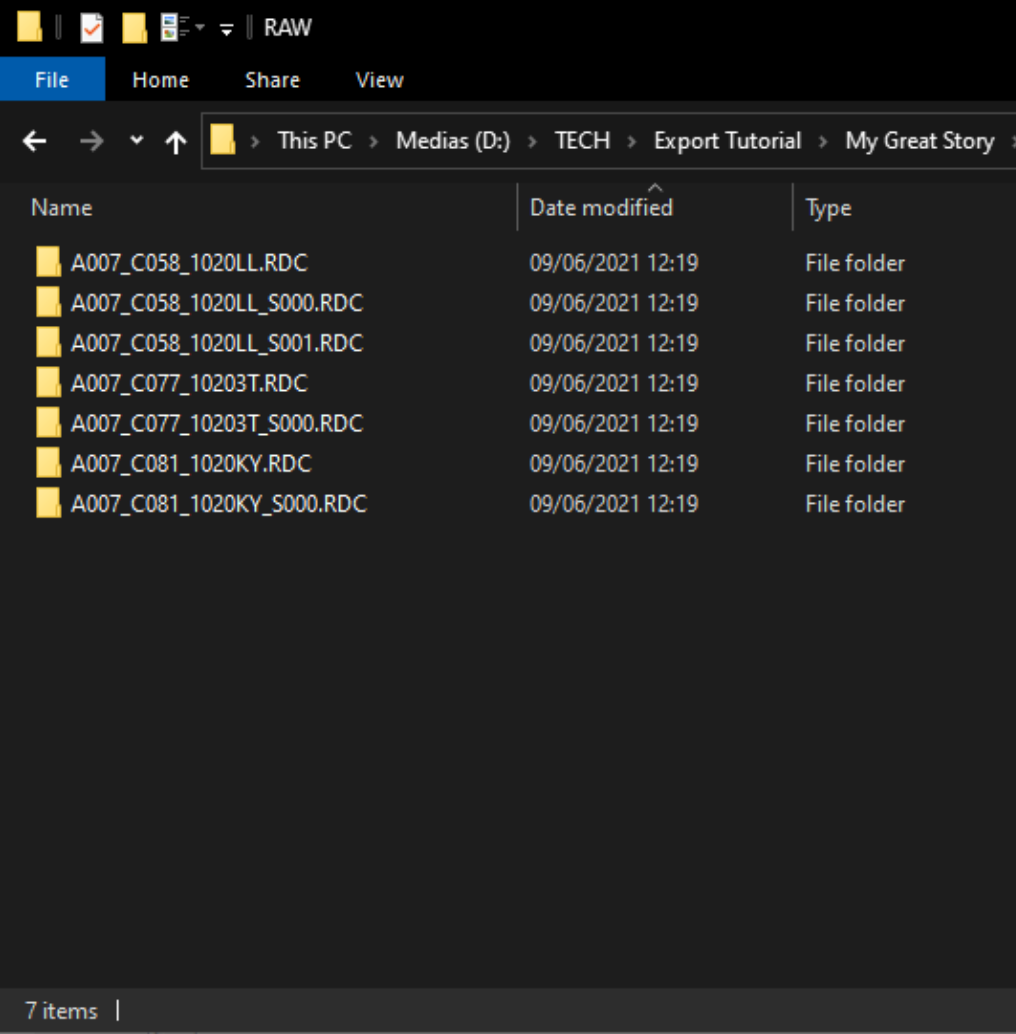
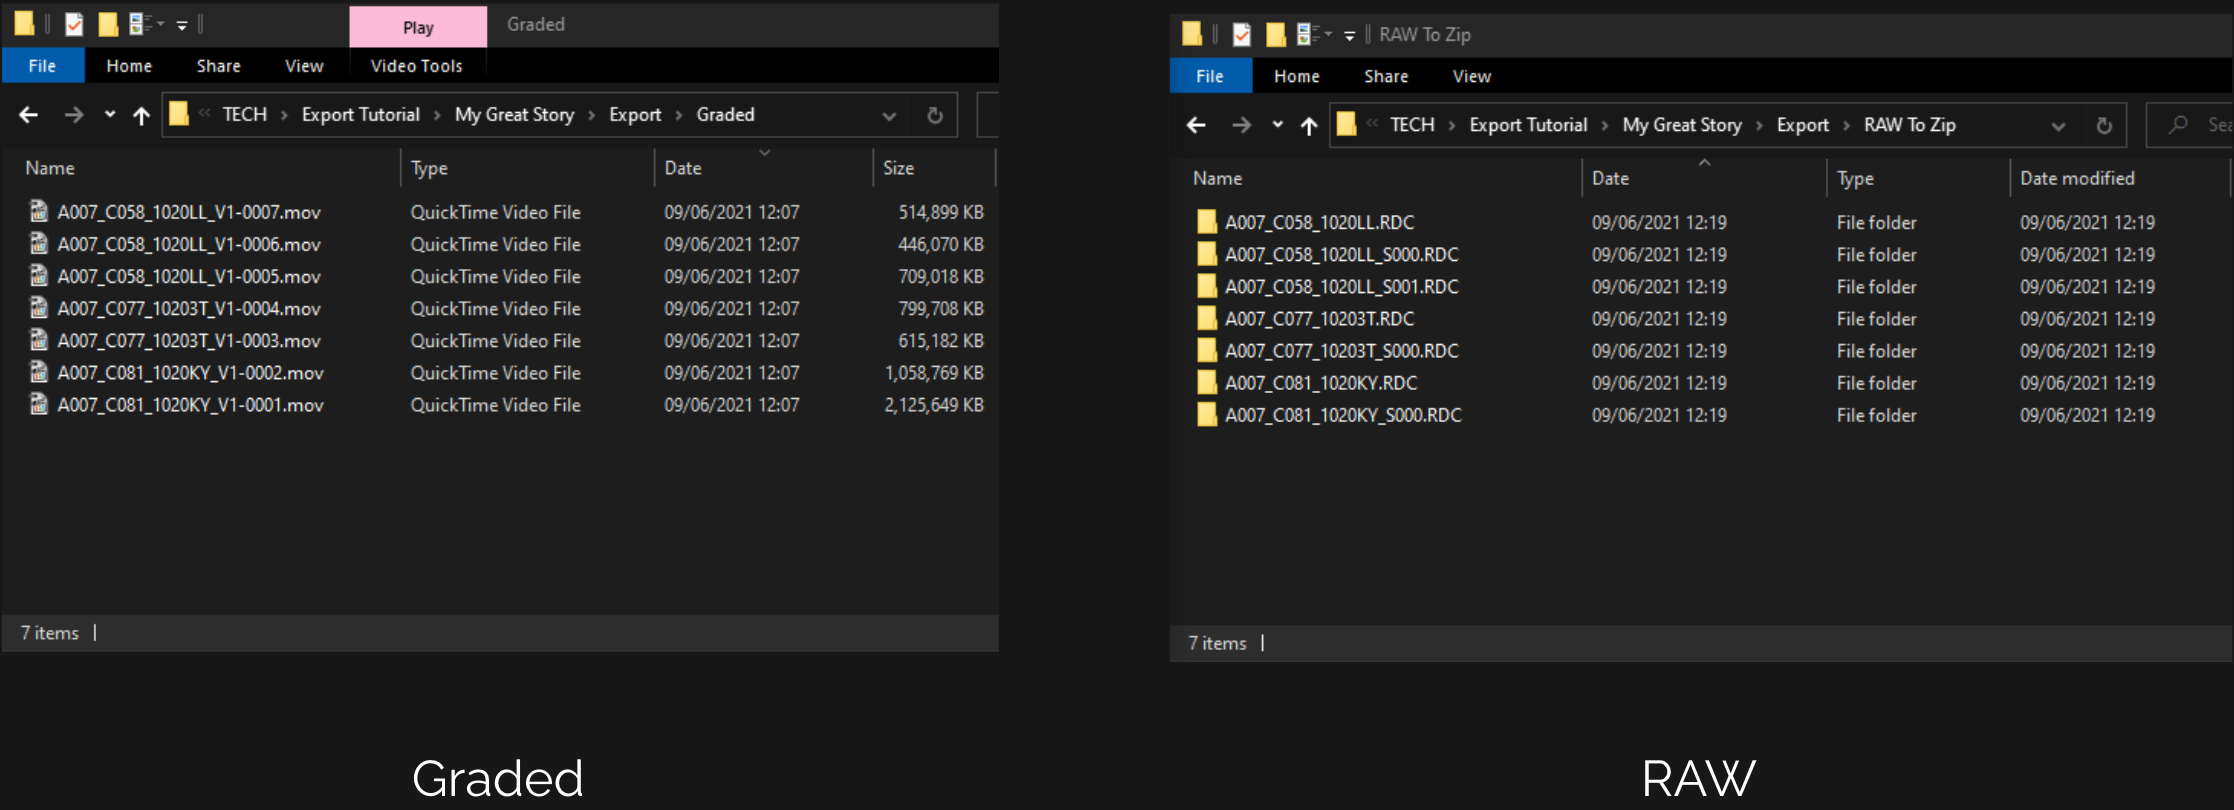
Your RAW files should look like this:
* Resolve sometimes exports a .drt file - you can delete it. We don't need it.
Same clip multiple times on the timeline
In some cases where different parts of the same clip exist on your timeline, the trimming process will add _S000 to the folder name to avoid overwrites.
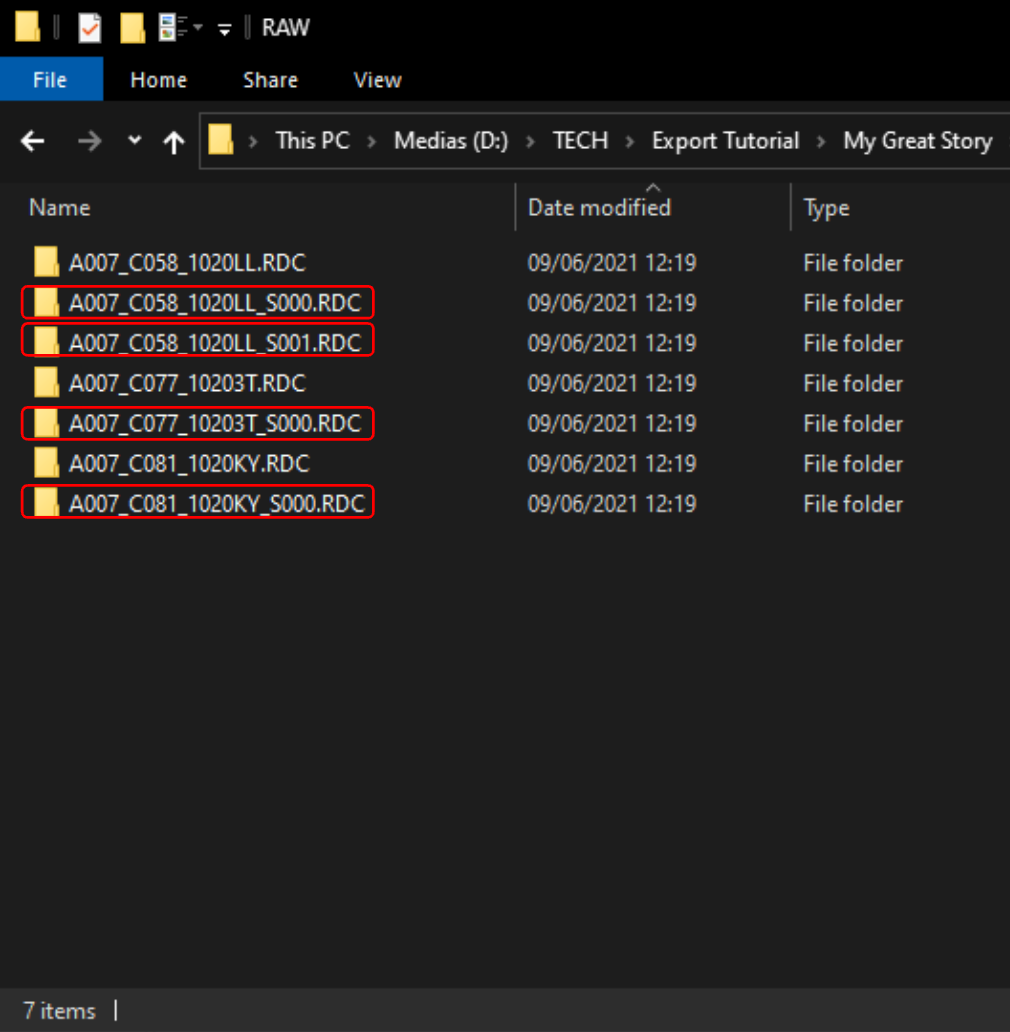
Note: It is crucial that any clips with the added _S000x will be listed AFTER the first portion of the clip and not BEFORE it.
This is critical because the next step will be renaming the files to create a matched pair between the GRADED and RAW versions. If the RAW versions are out of order, the user will receive the wrong RAW file for the clip.
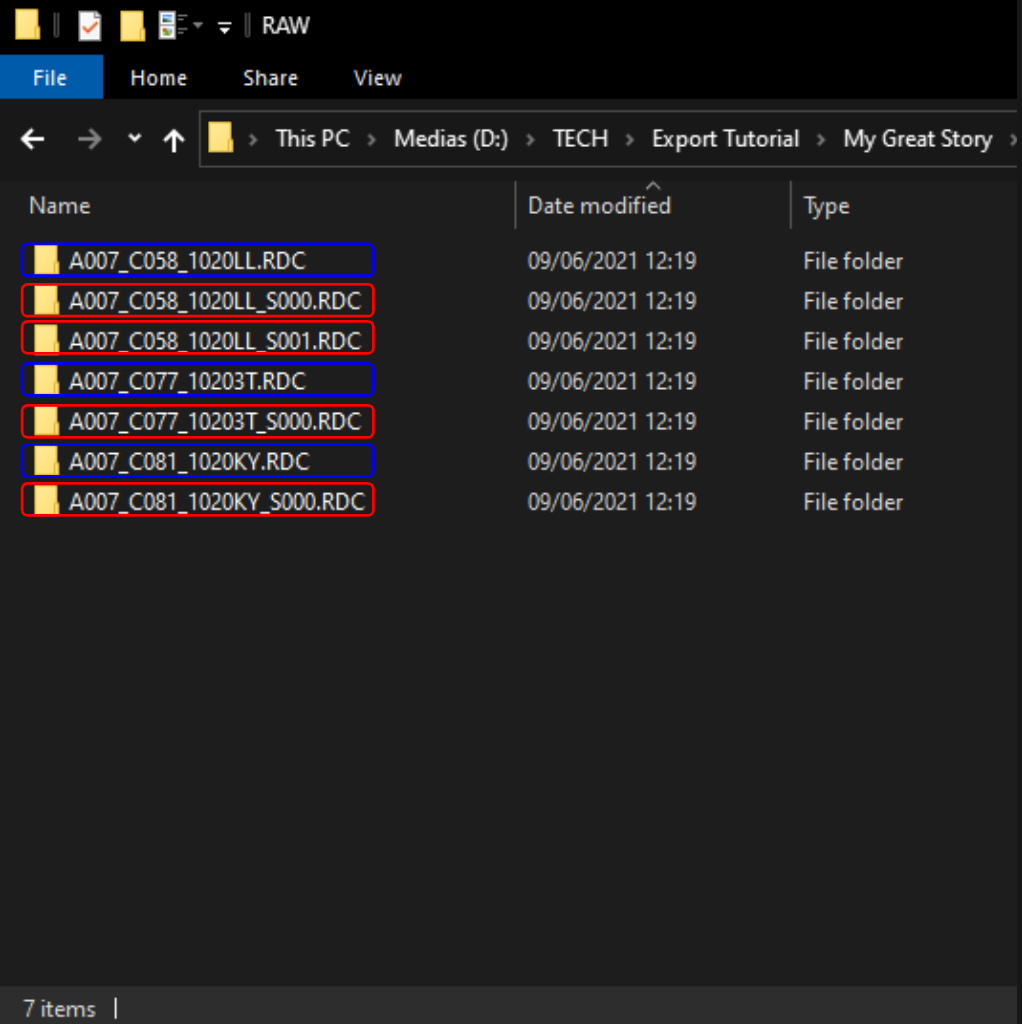
Results side by side
This is how both folders should look like If you shot RAW ( Before zipping)
Now that the RAW files have been exported, only two final steps are missing: