Now that you have already had an overview of the process and learned how to prepare your files correctly let's see how to export the graded files.
1. Go to Deliver Tab > Video Properties
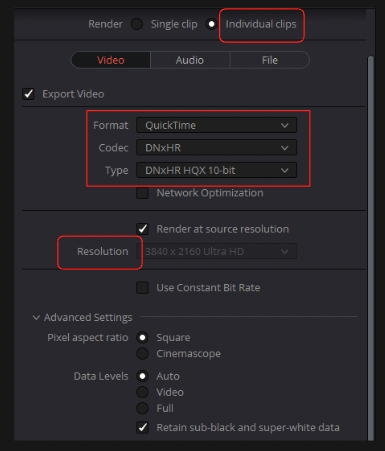
Start by selecting “Individual clips” at the top and then choose the proper Format, Codec, and Type that best suit your footage. Uncheck the Audio from the Audio Tab.
Note: If you have set up your timeline resolution correctly and have done reframing, you may want to select a specific resolution to maintain the aspect ratio. Otherwise, you can render at source resolution.
2. Go to Deliver Tab > Naming
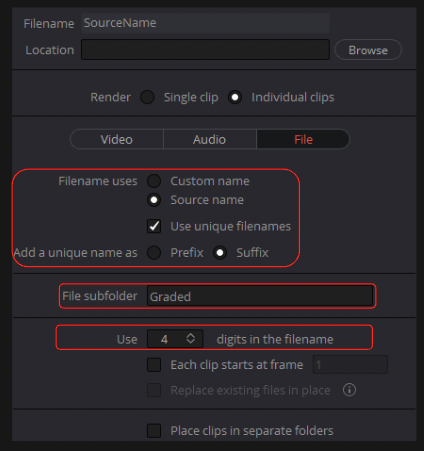
- Go to the File tab and choose Source name.
- Check Use Unique file names as Suffix
- Change the digits in the filename to 4.
- In the “File Subfolder” type “Graded” so resolve will place the files in a subfolder.
- Add to queue and Render!
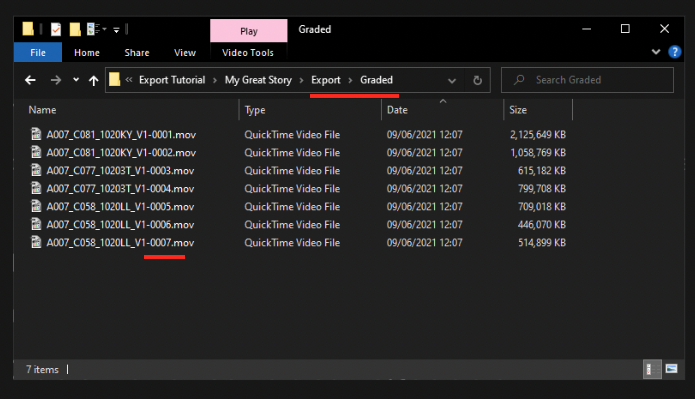
3. End result
Your Graded files should look like this:
Now it's time to export the Ungraded footage, which can be Log or RAW.